


HC-SR04 mounted
The HC-SR04 Ultrasonic Sensor finally arrived. Ordered in March, arrived in May. The price was cheap with free shipping. At $2.00 for both the sensor and the yellow mount, I was willing to wait for the parts ship on a slow boat from China.
The HC-SR04 sensor works by sending out a series of ultrasonic pulses and measuring how long it takes for an echo to return to the sensor. A nice tutorial about the HC-SR04 sensor can be found at HC-SR04 Ultrasonic Sensor and Arduino Tutorial .
The sensor is mounted on the servo motor by connecting the mount to the white plastic arms that came with the servo motor. The sensor came with a two nuts and bolts to hold the sensor and mount together. It also came with two screws that allows the mount to be placed on the motor arm.
The one issue with mounting the sensor to the servo motor is that the motor arm does not line up with the 90 degrees position. The sensor should be pointed straight forward when the servo motor is at its 90 degree position. The arm mounts on an axis with teeth. This limits on how the arm can be placed on the motor. The servo is at 85 degrees for the sensor to point forward. I need to check to see if there are other ways to mount the arm in order to get the sensor pointing closer to forward at servo position 90 degrees.
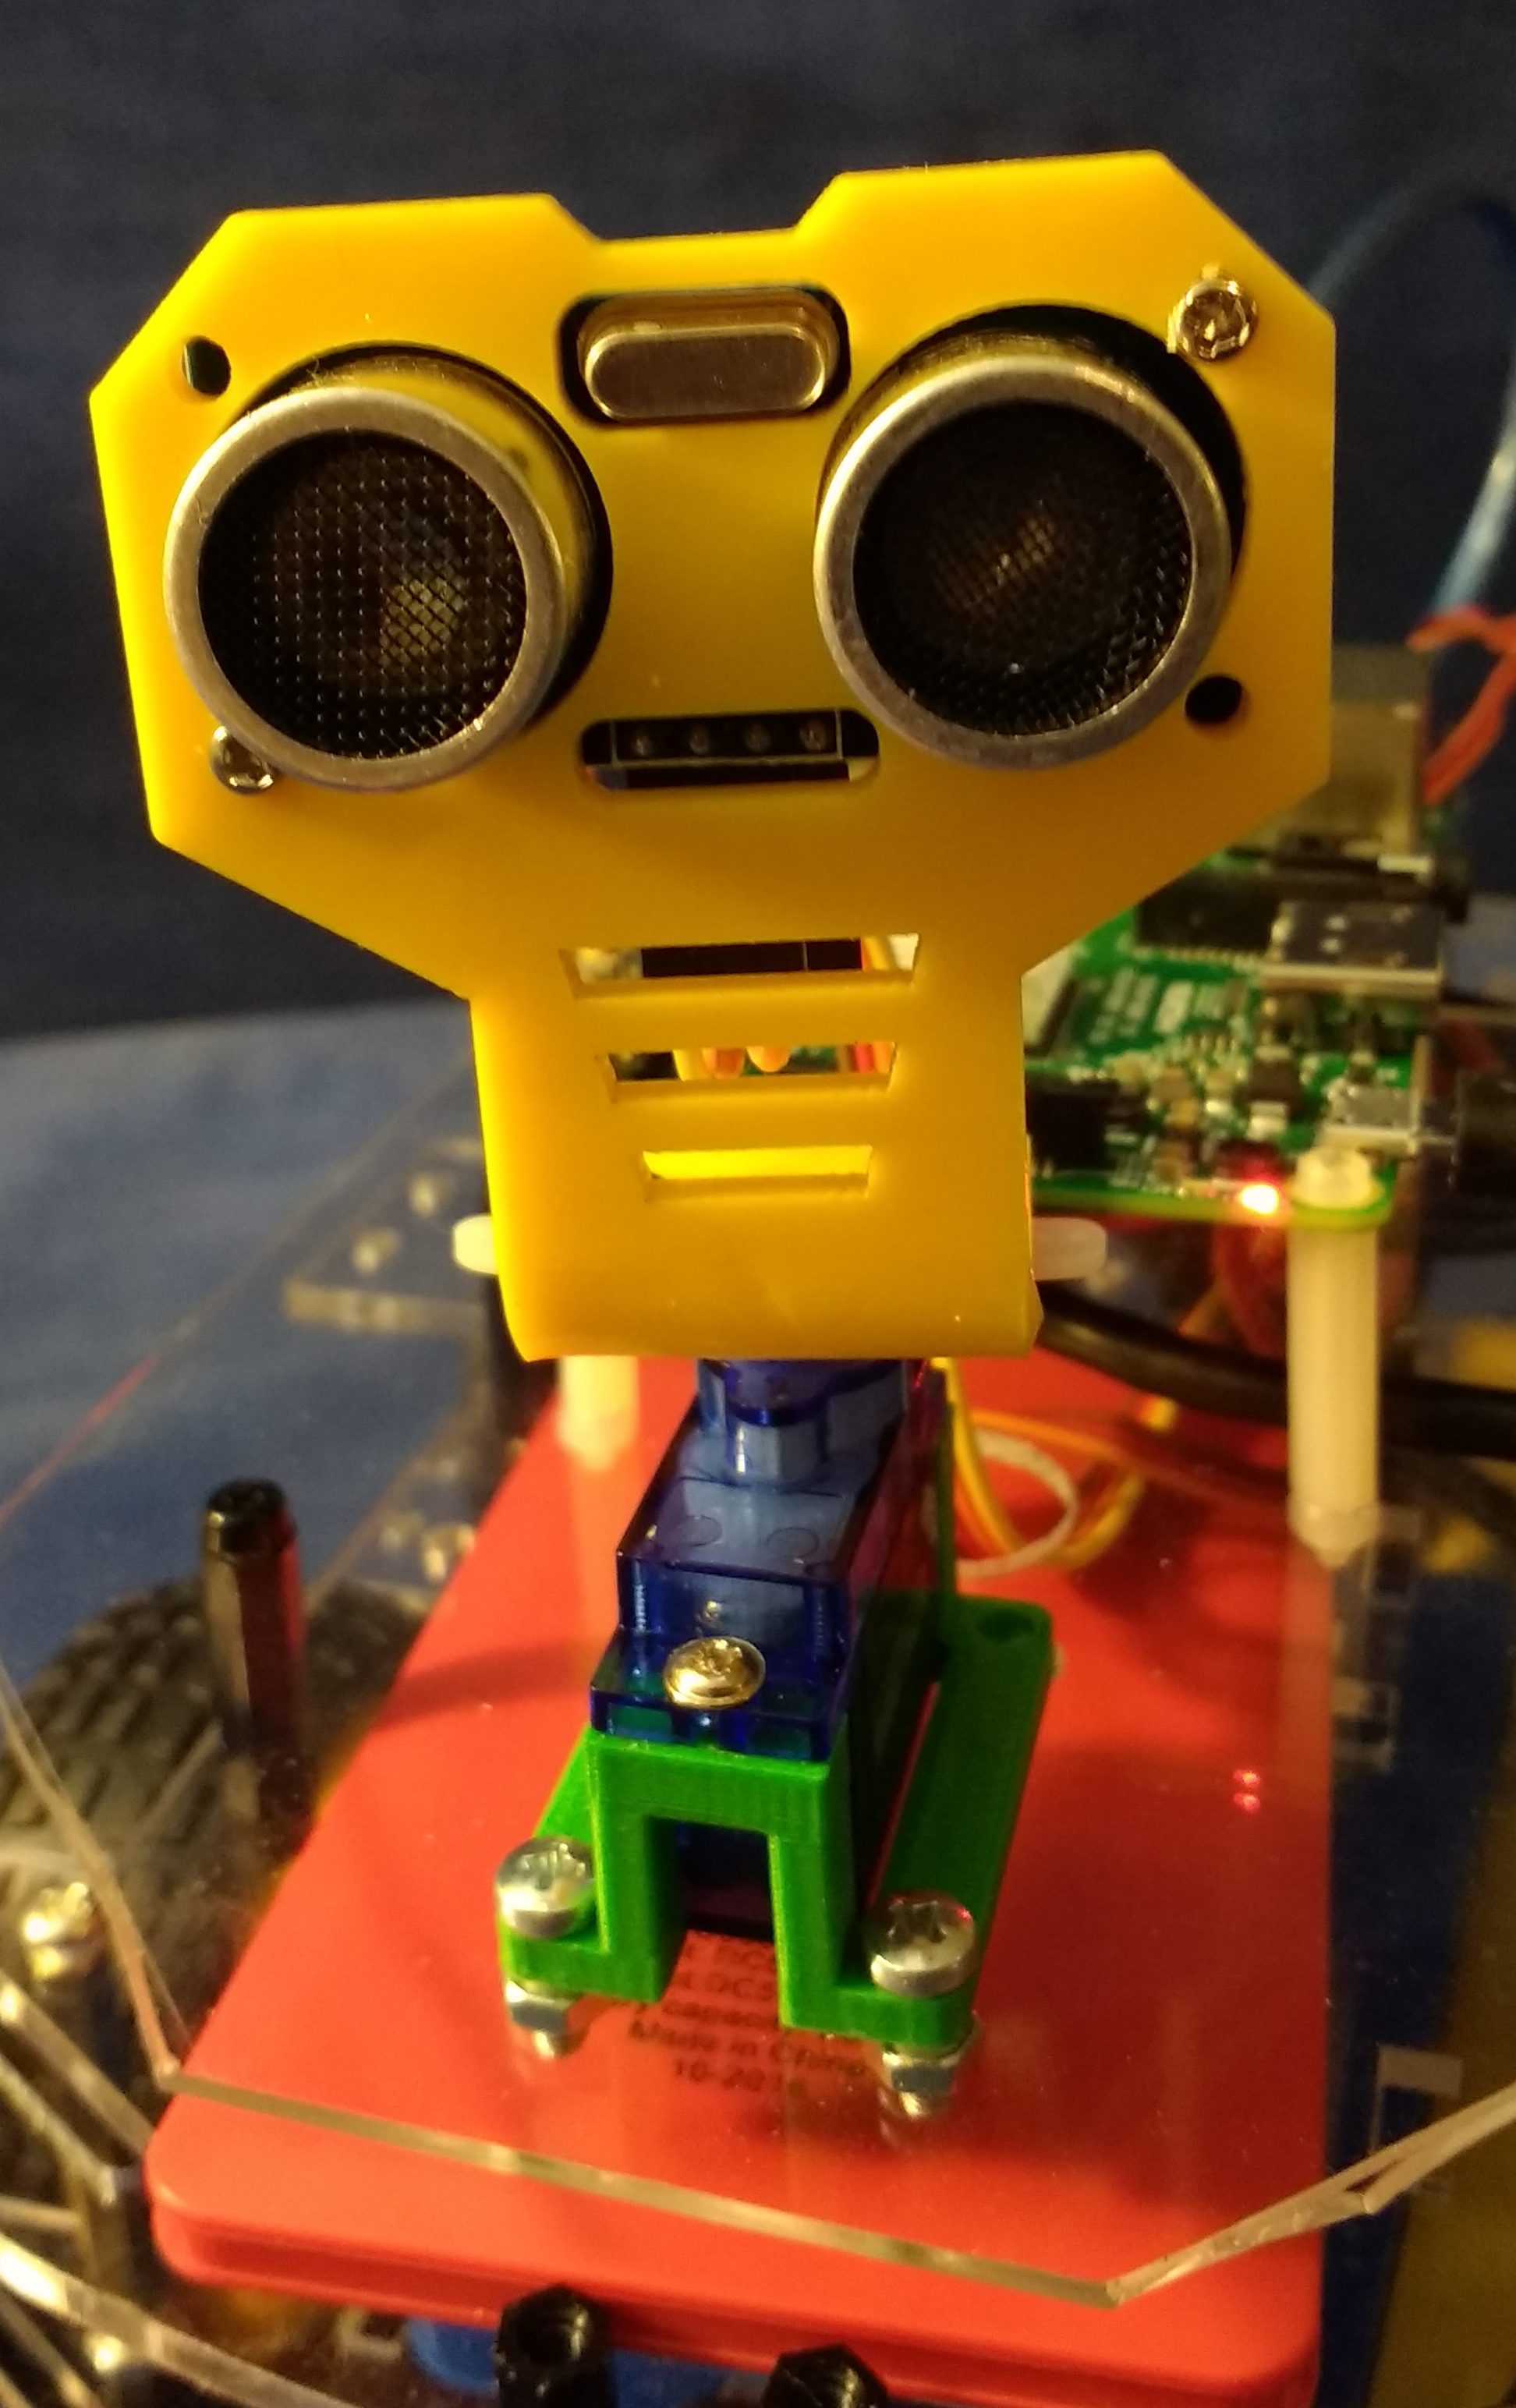
HC-SR04 – Closeup
The ultrasonic sensor has four pins used to operate it. The pins are Vcc (+voltage), Trigger, Echo, and Ground. These pins are connected to the Arduino board though the Motor Driver Shield. The Trigger and Echo pins are connected to the Arduino’s analog pins A0 and A1. The analog pins can be used as digital pins numbers 14 to 19. The trigger pin is used to start the sensor. Holding the trigger pin to high for 10 microseconds and then setting the pin to low causes the sensor to send out a pulse. After the sensor has been triggered, the amount of time it takes the echo pin to go high represents the twice the distance to the object that reflected the sound pulse. The duration, the amount of time for the echo to return, multiplied by 0.034 cm/μs divided by 2 results in the distance to the object in centimeters. The 0.034 is the speed of sound in centimeters per microseconds. The results are divided by two to account for the fact that the ultrasonic pulse makes a round trip; to the object and back.
There is no builtin Arduino library to run the sensor. It can be accomplished using digitalWrite(), delayMicroseconds(), and pulseIn() methods that are built in. This actually turns out to be clumsy way to operate the sensor. You do not obtain the full speed of the sensor this way.
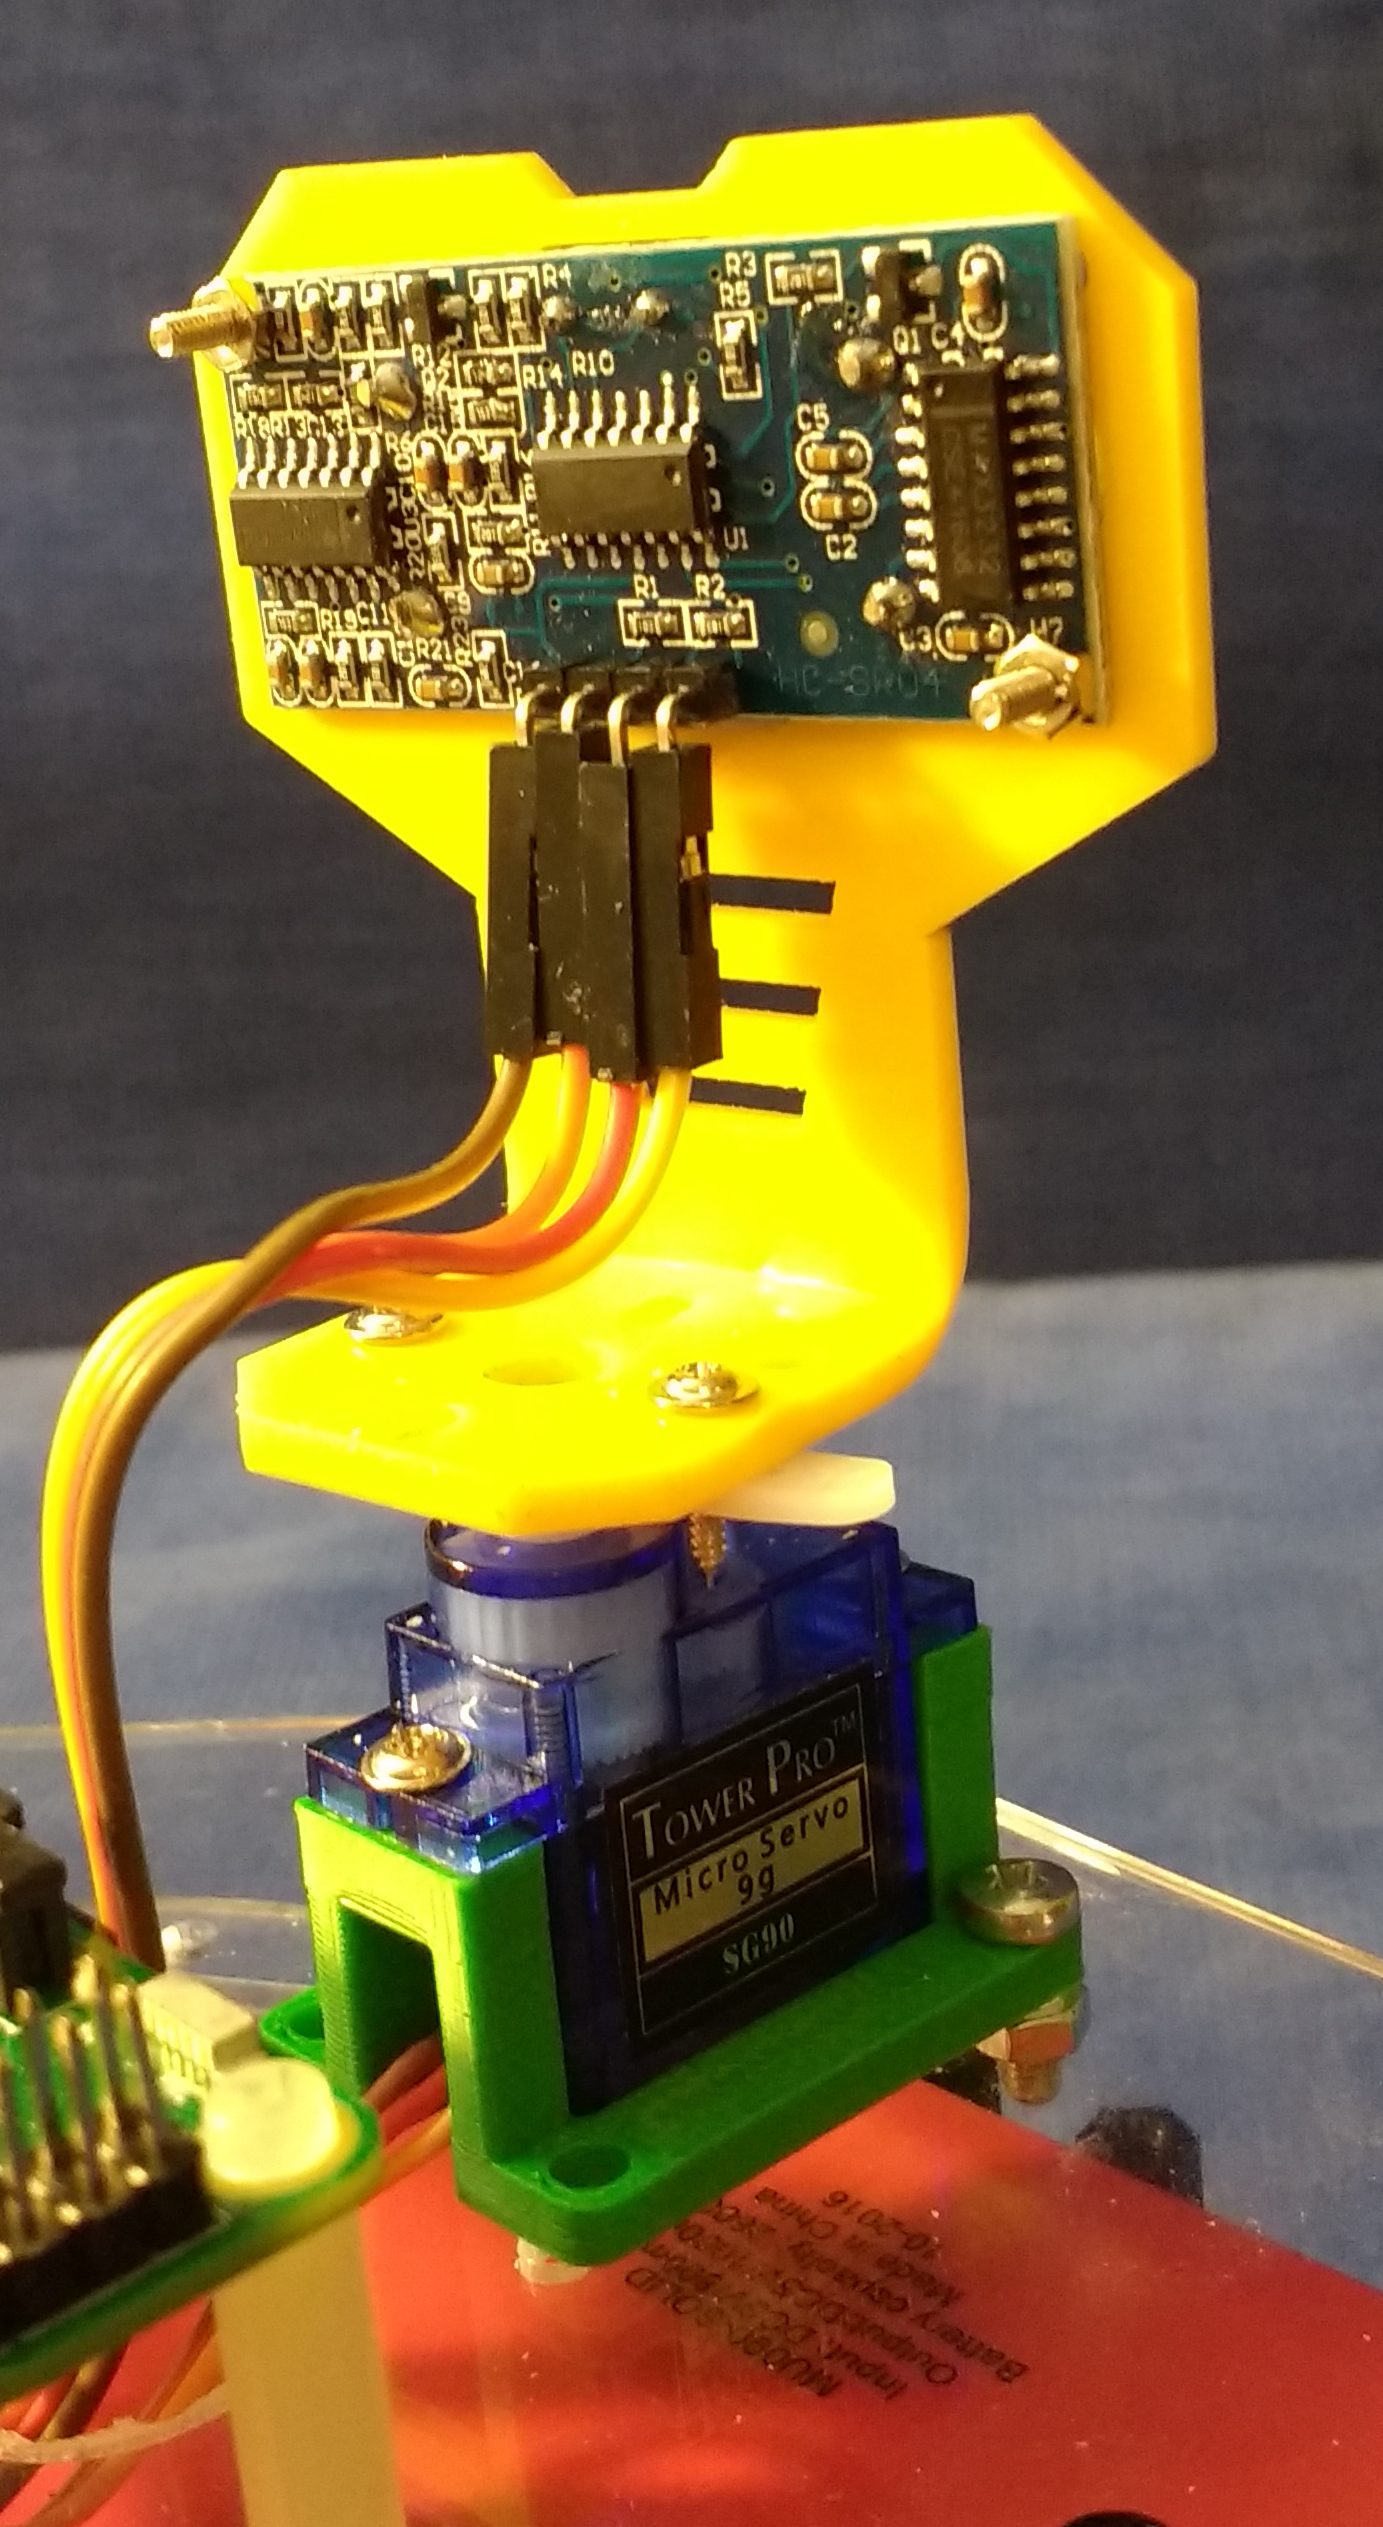
HC-SR04 Closeup Rear
There is a third party library available for operating a variety of ultrasonic sensors, including the HC-SR04, called NewPing. It can operate the sensors at rates up to 30 pings per second. This library is available at NewPing Arduino Library for Arduino . The NewPing library defines a class named NewPing, naturally. The constructor for this class takes the trigger and echo pins as inputs along with a maximum distance to sense. It only takes a single call to your NewPing object to obtain the distance or the duration of the ping. There are static methods for converting duration into distance in either cm or inches. The maximum distance is one of the factors that make this library more efficient. This prevents waiting for seconds for the sensor to timeout if there is nothing in range to reflect the pulse back. The maximum distance to check is set during the construction of a NewPing object and can be overridden in the methods that do the range finding.
All the parts that I original planned to use to build the robotic car are here. The only piece missing is a 16×2 character display that I ordered a week or two ago. The programming phase now begin.