

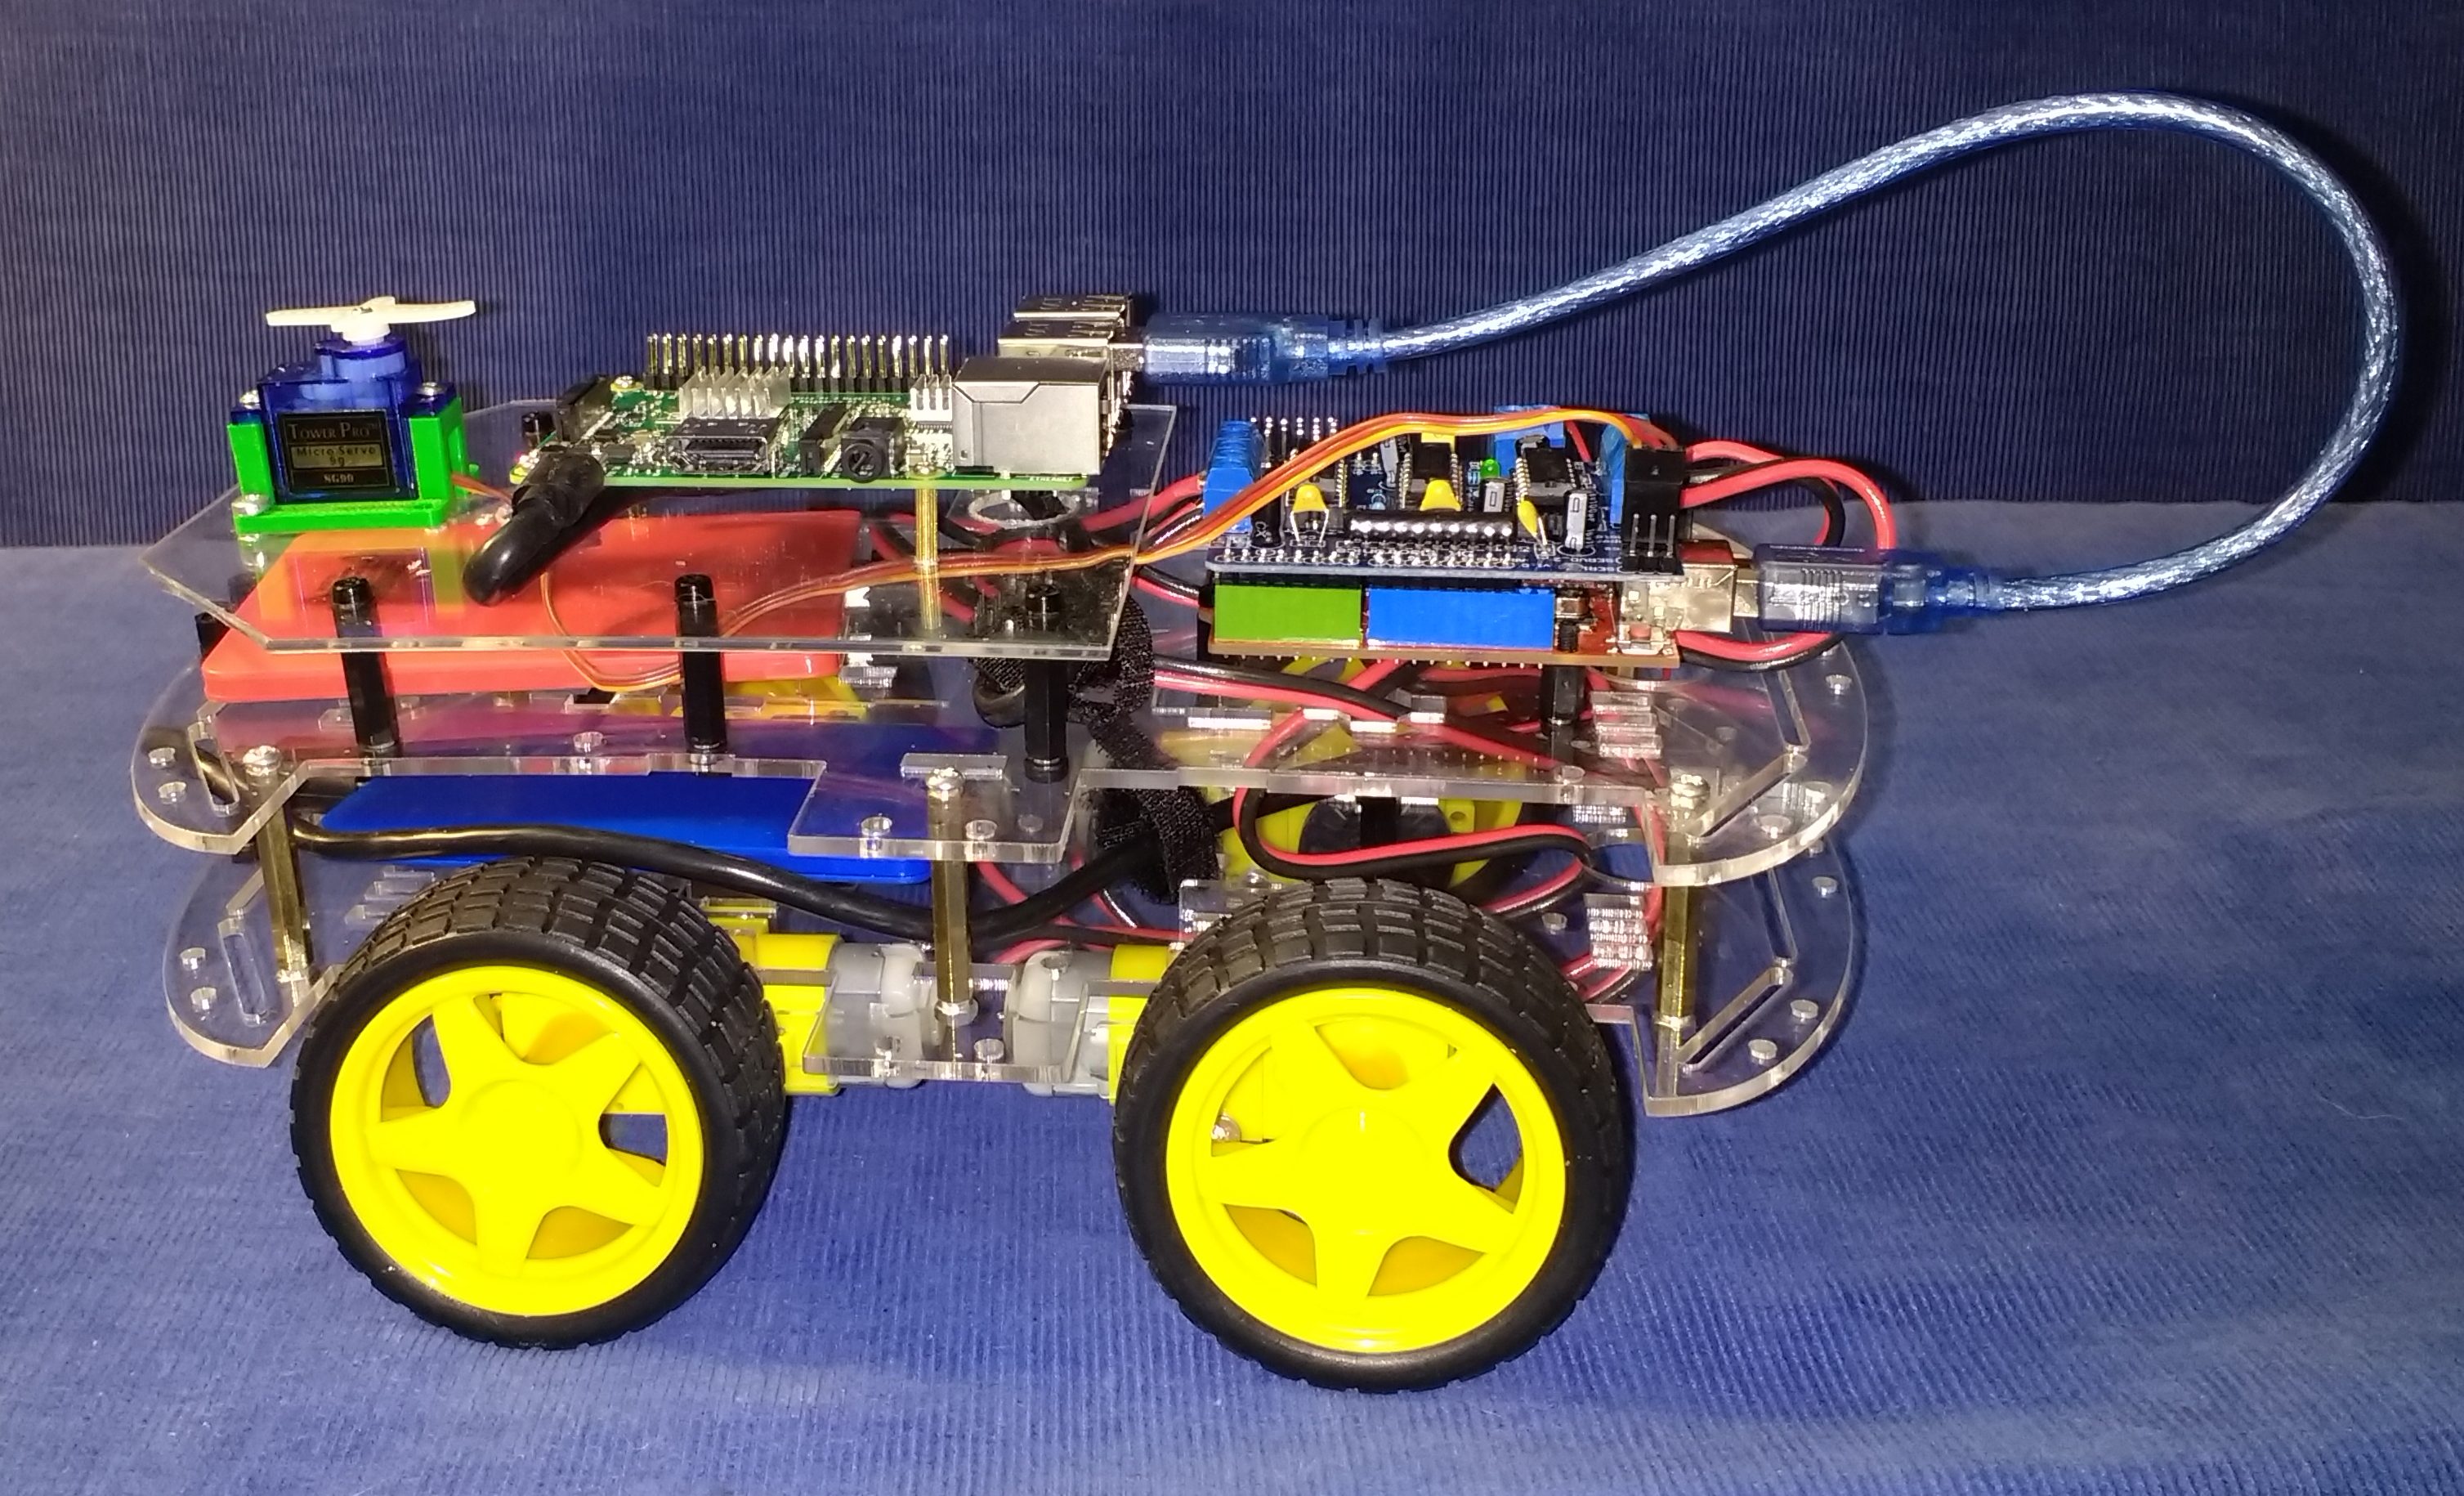
Left Side View of the Robotic Car.
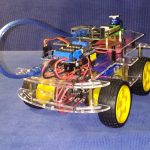
The following series of photos show the Robotic Car minus two components. The car includes the top and bottom platforms and the four wheels and motors from the robot chassis, the USB breakout board at the back of the bottom platform, the Arduino UNO clone with its motor driver shield, the third platform with the Raspberry Pi and SG90 servo motor. There are also two power supplies, one resting on the bottom platform and the other one resting on the top platform below the third platform. The red power supply supplies power to the Raspberry Pi which, in turn, supplies power to the Arduino and its shield. The blue power supply supplies power directly to the motor driver shield that power the motors. Both power supplies are phone power banks that connect to the robotic car with standard USB [charging] cables.
The blue USB cable that connects the Raspberry Pi to the Arduino is a data or syncing cable, capable of carrying both data and power. The Raspberry Pi has the Arduino IDE installed and sketches for the Arduino originates from the Raspberry Pi. Programming of the Arduino is done by connecting a laptop to the Raspberry Pi using RealVNC allowing the laptop to act as the monitor, mouse and keyboard for the Raspberry Pi. Once the Arduino Sketch is loaded onto the Arduino, the laptop is no longer necessary.
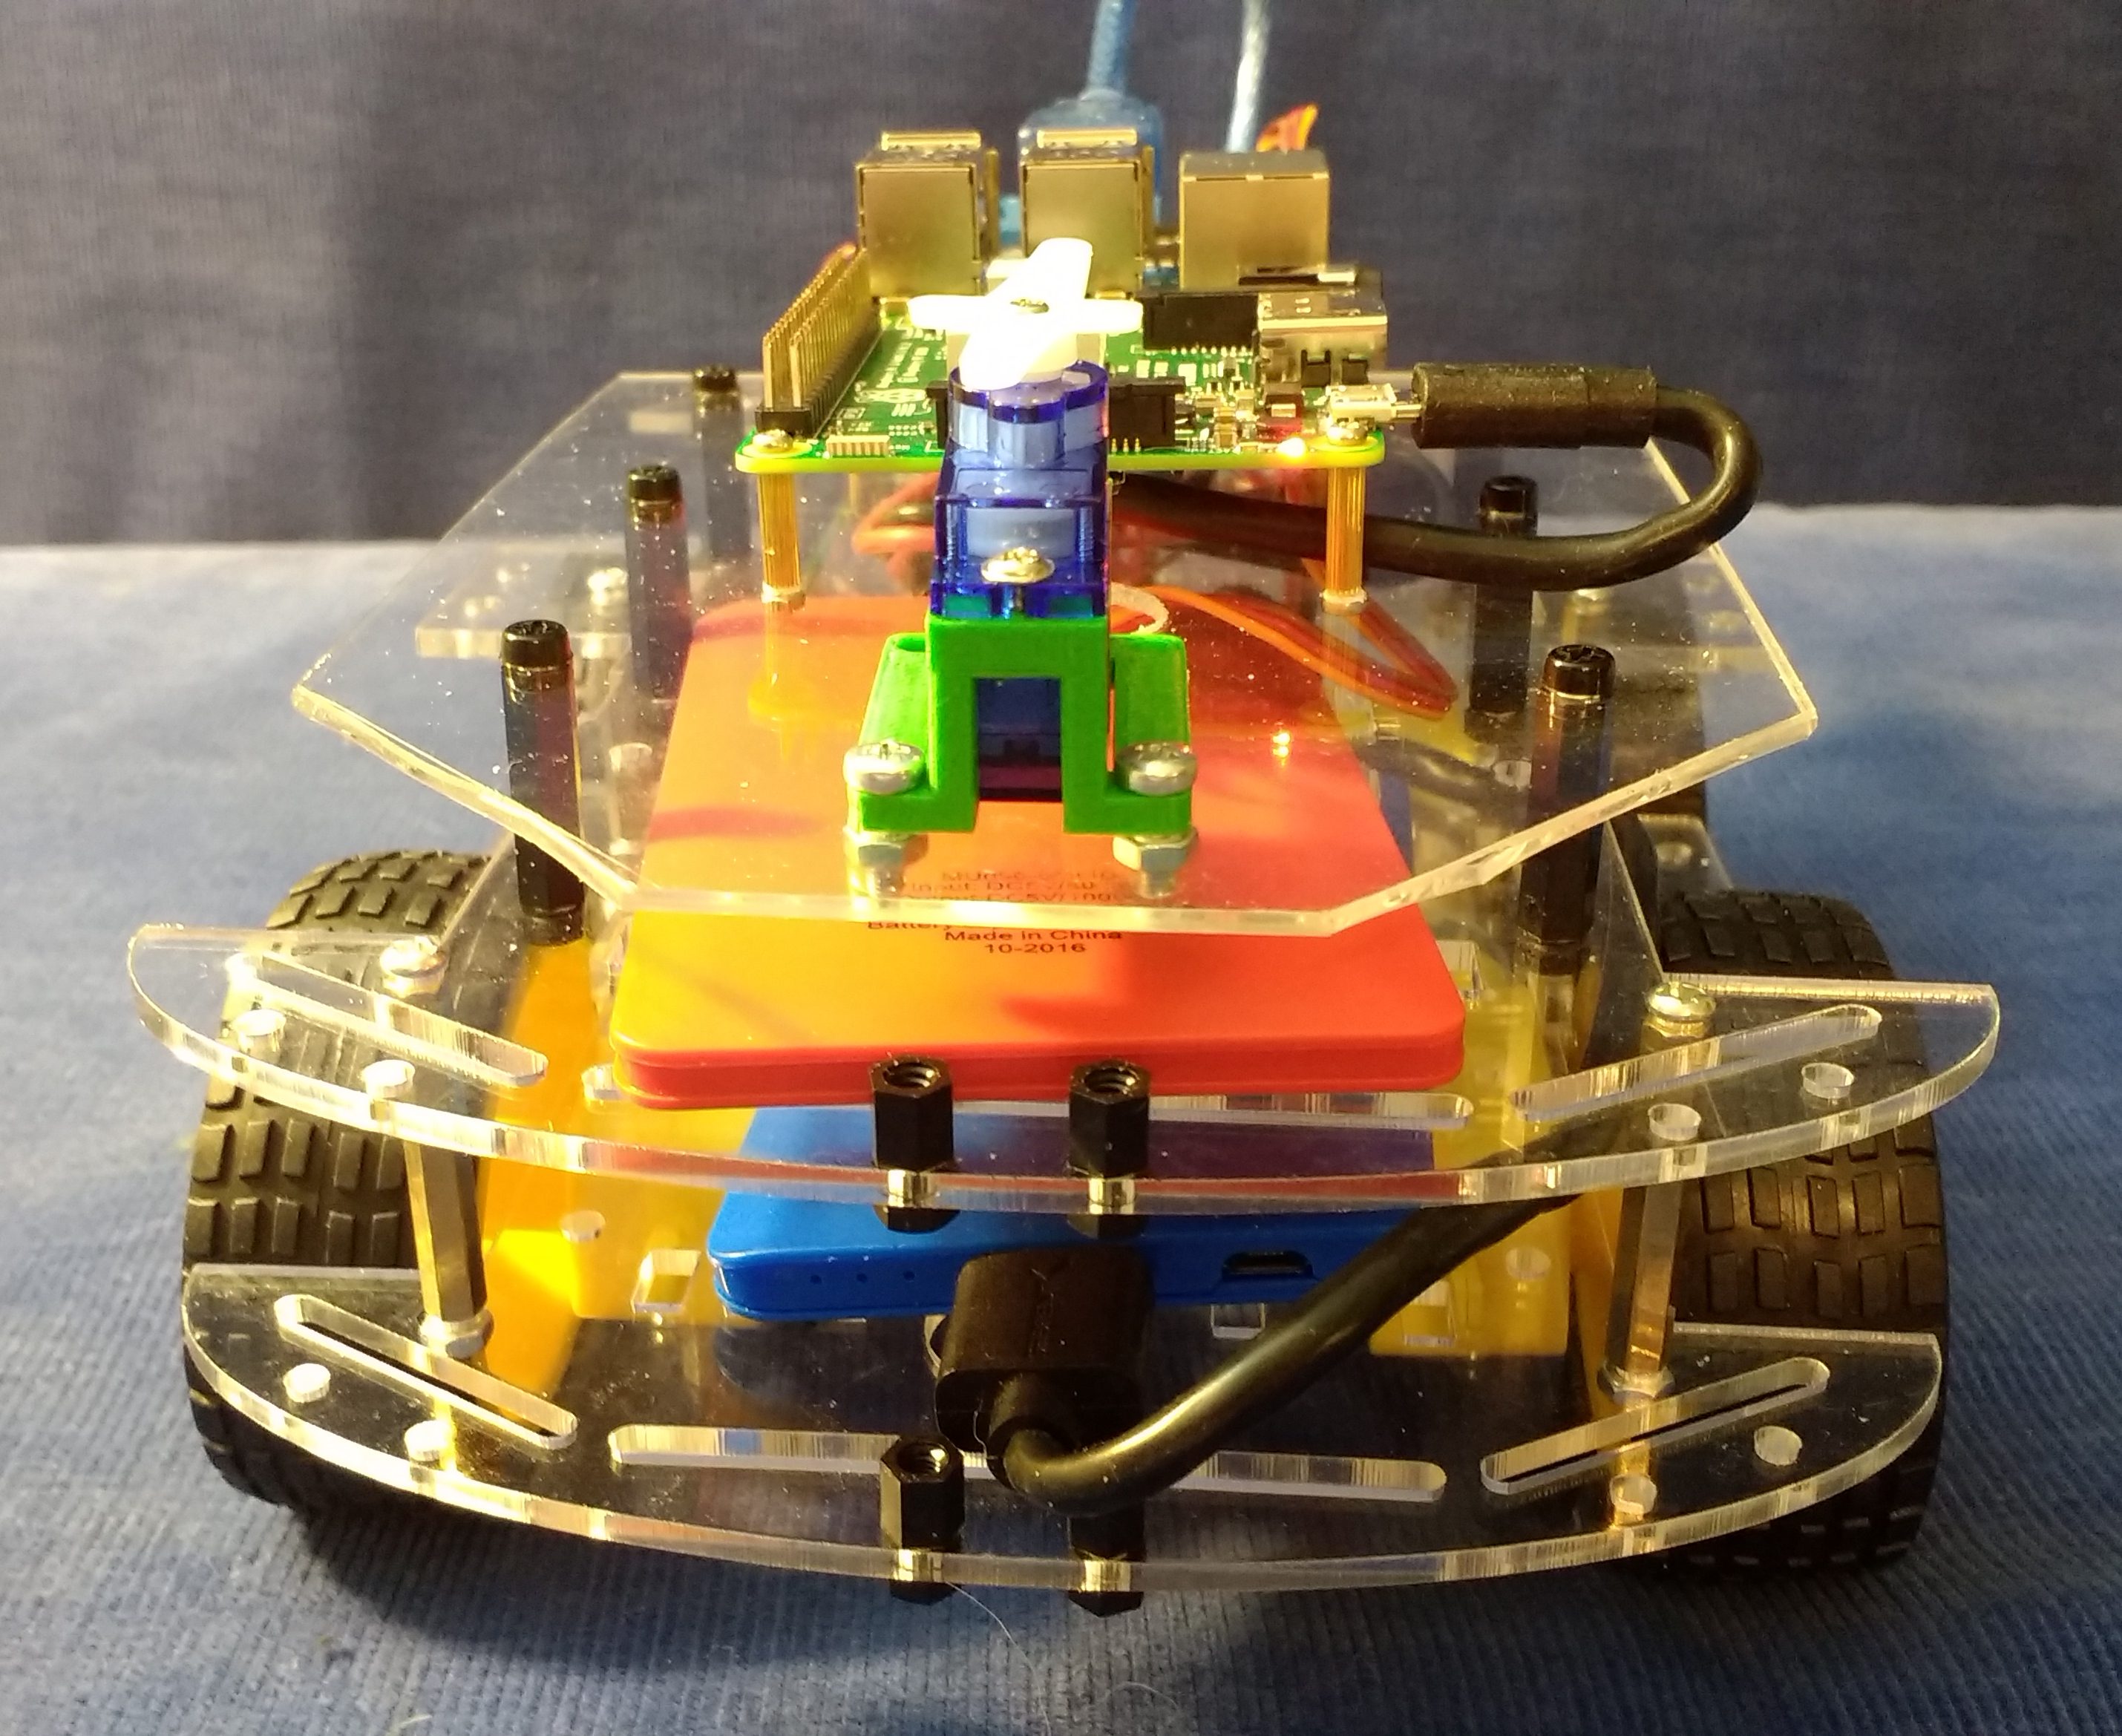
Front View of Robotic Car
The SG90 servo motor in its green mount sit at the front end of the car on the third platform. There are three wires that connects the servo motor to the Motor Driver Shield; power, ground, signal. The Motor Driver Shield does not control the servo motor and passes the connections directly to the Arduino. One of the components missing is the HC-SR04 ultrasonic distance sensor and its mount. They will be installed on the white arm that is at the top of the servo motor. The servo motor comes with several arms and I will not know which arm will work with the sensor until the senors arrive. The sensors are coming on a slow boat from China and should be here in the next couple of weeks.
The two power supplies are not directly installed on the platforms and can move around. The two short standoffs at the front of the top and bottom platform keep the power supplies from sliding off the car by the front. There are components behind each power supply that prevent them from sliding of the back end. The standoffs that connect the top and bottom platforms prevent them for sliding off the side. The two power supplies can be manually lifted and pulled out the front of the car when it is time to recharge them.
The last missing component, which I placed an order on Sunday night, is a hat for the Raspberry Pi. A hat for the Raspberry is the same thing as a shield is for the Arduino. The hat will contain a display that can show two rows of 16 characters. This will be used to display status and error messages when the car is running. This component was a late idea that I picked up from a robotic show that occurred earlier this month. One of the robot vehicles at the show had a one line display that showed the distance to objects in front of the car or the temperature of some part of the car where a temperature sensor was installed. I will not be using a temperature sensor and will use the display primarily for debugging and status reporting.
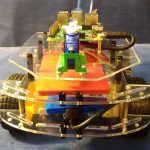
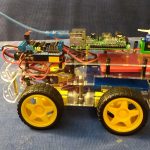
Gallery of Robotic Car Views
-

- Left Side View of the Robotic Car.
-

- Front/Left Side View of the Robotic Car.
-
- Front View of Robotic Car
-
- Right Side View of the Robotic Car.
-
- Rear/Right Side View of Robotic Car