How to build a robotic vehicle
After attending a demonstration by the Roanoke Robotics & Makers Club of Southwest Virginia given at the MystiCon 2017 Science Fiction Convention held in Roanoke, VA, I decided to try my hand at building a small robotic car. This blog will be following my research, acquisition of parts, and construction.
Pinned Posts
Why am I building a Robotic Car?
My objectives are: The car is controlled from an Android App. The car will have one or two sensors that will prevent it from bumping into walls. The car will be controlled by an Arduino Uno board and a Raspberry Pi 3 computer. The real reasons that I am doing …
Recent Posts
Robotic Car Project Status
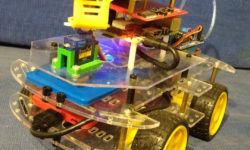
This gallery contains 2 photos.
It has been a while since my last post. Work is progressing though a bit slower that I had originally planned. The title photo for this entry is the Robotic Car with all components installed. At least, all that were planned. The coding for the Arduino is complete. It can …
LCD Display with Keypad for Raspberry Pi
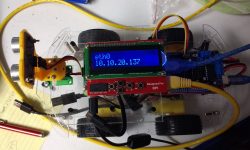
This gallery contains 4 photos.
There was a robot car at a Robot Gathering in Roanoke that had an LCD display mounted on its Raspberry Pi. This display provided information such as the output from the Ultrasound Distance Sensor. This was an excellent idea and I decided to add one to my Robot Car. Adding …
The Art of Remote Debugging
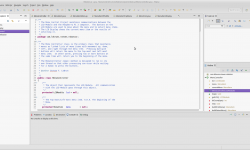
This gallery contains 2 photos.
My plans for software development is to use the native C/C++ on the Arduino and Java using the PI4J library on the Raspberry Pi. Software development was going to take place on the Raspberry Pi using Eclipse for the Java code and the Arduino IDE for the C/C++ code. I …
Beautiful Black Eyes
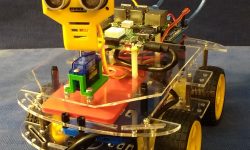
This gallery contains 3 photos.
The HC-SR04 Ultrasonic Sensor finally arrived. Ordered in March, arrived in May. The price was cheap with free shipping. At $2.00 for both the sensor and the yellow mount, I was willing to wait for the parts ship on a slow boat from China. The HC-SR04 sensor works by sending …
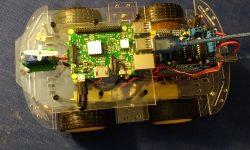
M2.5 Standoffs Arrive
This gallery contains 2 photos.
The M2.5 Standoffs (Spacers) arrived in the mail yesterday. The original standoffs that I ordered were M2 or 2 mm size. The Raspberry Pi board has holds for standoffs that are 2.75 mm in diameter. No M2.5 standoffs showed up in my initial Internet search for parts. Wasted time and …
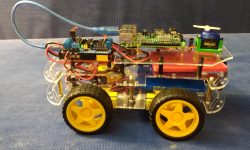
Robotic Car with Third Platform
This gallery contains 5 photos.
The following series of photos show the Robotic Car minus two components. The car includes the top and bottom platforms and the four wheels and motors from the robot chassis, the USB breakout board at the back of the bottom platform, the Arduino UNO clone with its motor driver shield, …
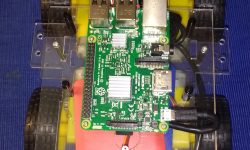
Mounting the Raspberry Pi 3 and SG90 Servo Motor
This gallery contains 2 photos.
I originally thought that mounting the Raspberry Pi and the SG90 servo motor for the ultrasound distance sensor would be a simple task. There were plenty of holes already in the two platforms that came with the robot chassis. I was wrong. The robot chassis was designed for an Arduino …
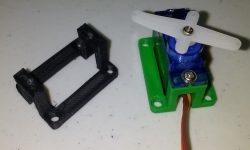
Mounting the Servo Motor
This gallery contains 2 photos.
It did not take me long to learn that servo motor that I purchased, SG90, was not able to mount directly to either of the chassis platforms. A mount was required to hold the motor with the mount being screwed onto the platform. This lead to a problem. I could …
Wheels Spinning, Car Stands Still
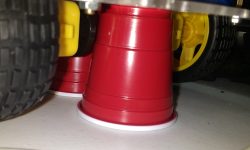
This gallery contains 1 photo.
In the initial assembly of the car, tests are needed to determine how to use 3rd party libraries and whether the components of the car are wired up correctly. The Arduino with its Motor Driver Shield is mounted and the four DC motors with wheels attached are wired into …
The Wheels on the Bus Go Round and Round
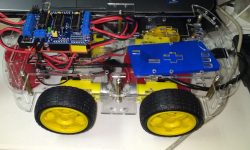
This gallery contains 2 photos.
I have already had to alter my design plans for assembling this robotic car. I wanted to place the Arduino with its Motor Driver Shield between the two platforms. This did not work. The combo Arduino, Motor Driver Shield, and spacers was a few millimeters too tall. With the combo …

