

Sugar Glider Projects – Bonding Pouches

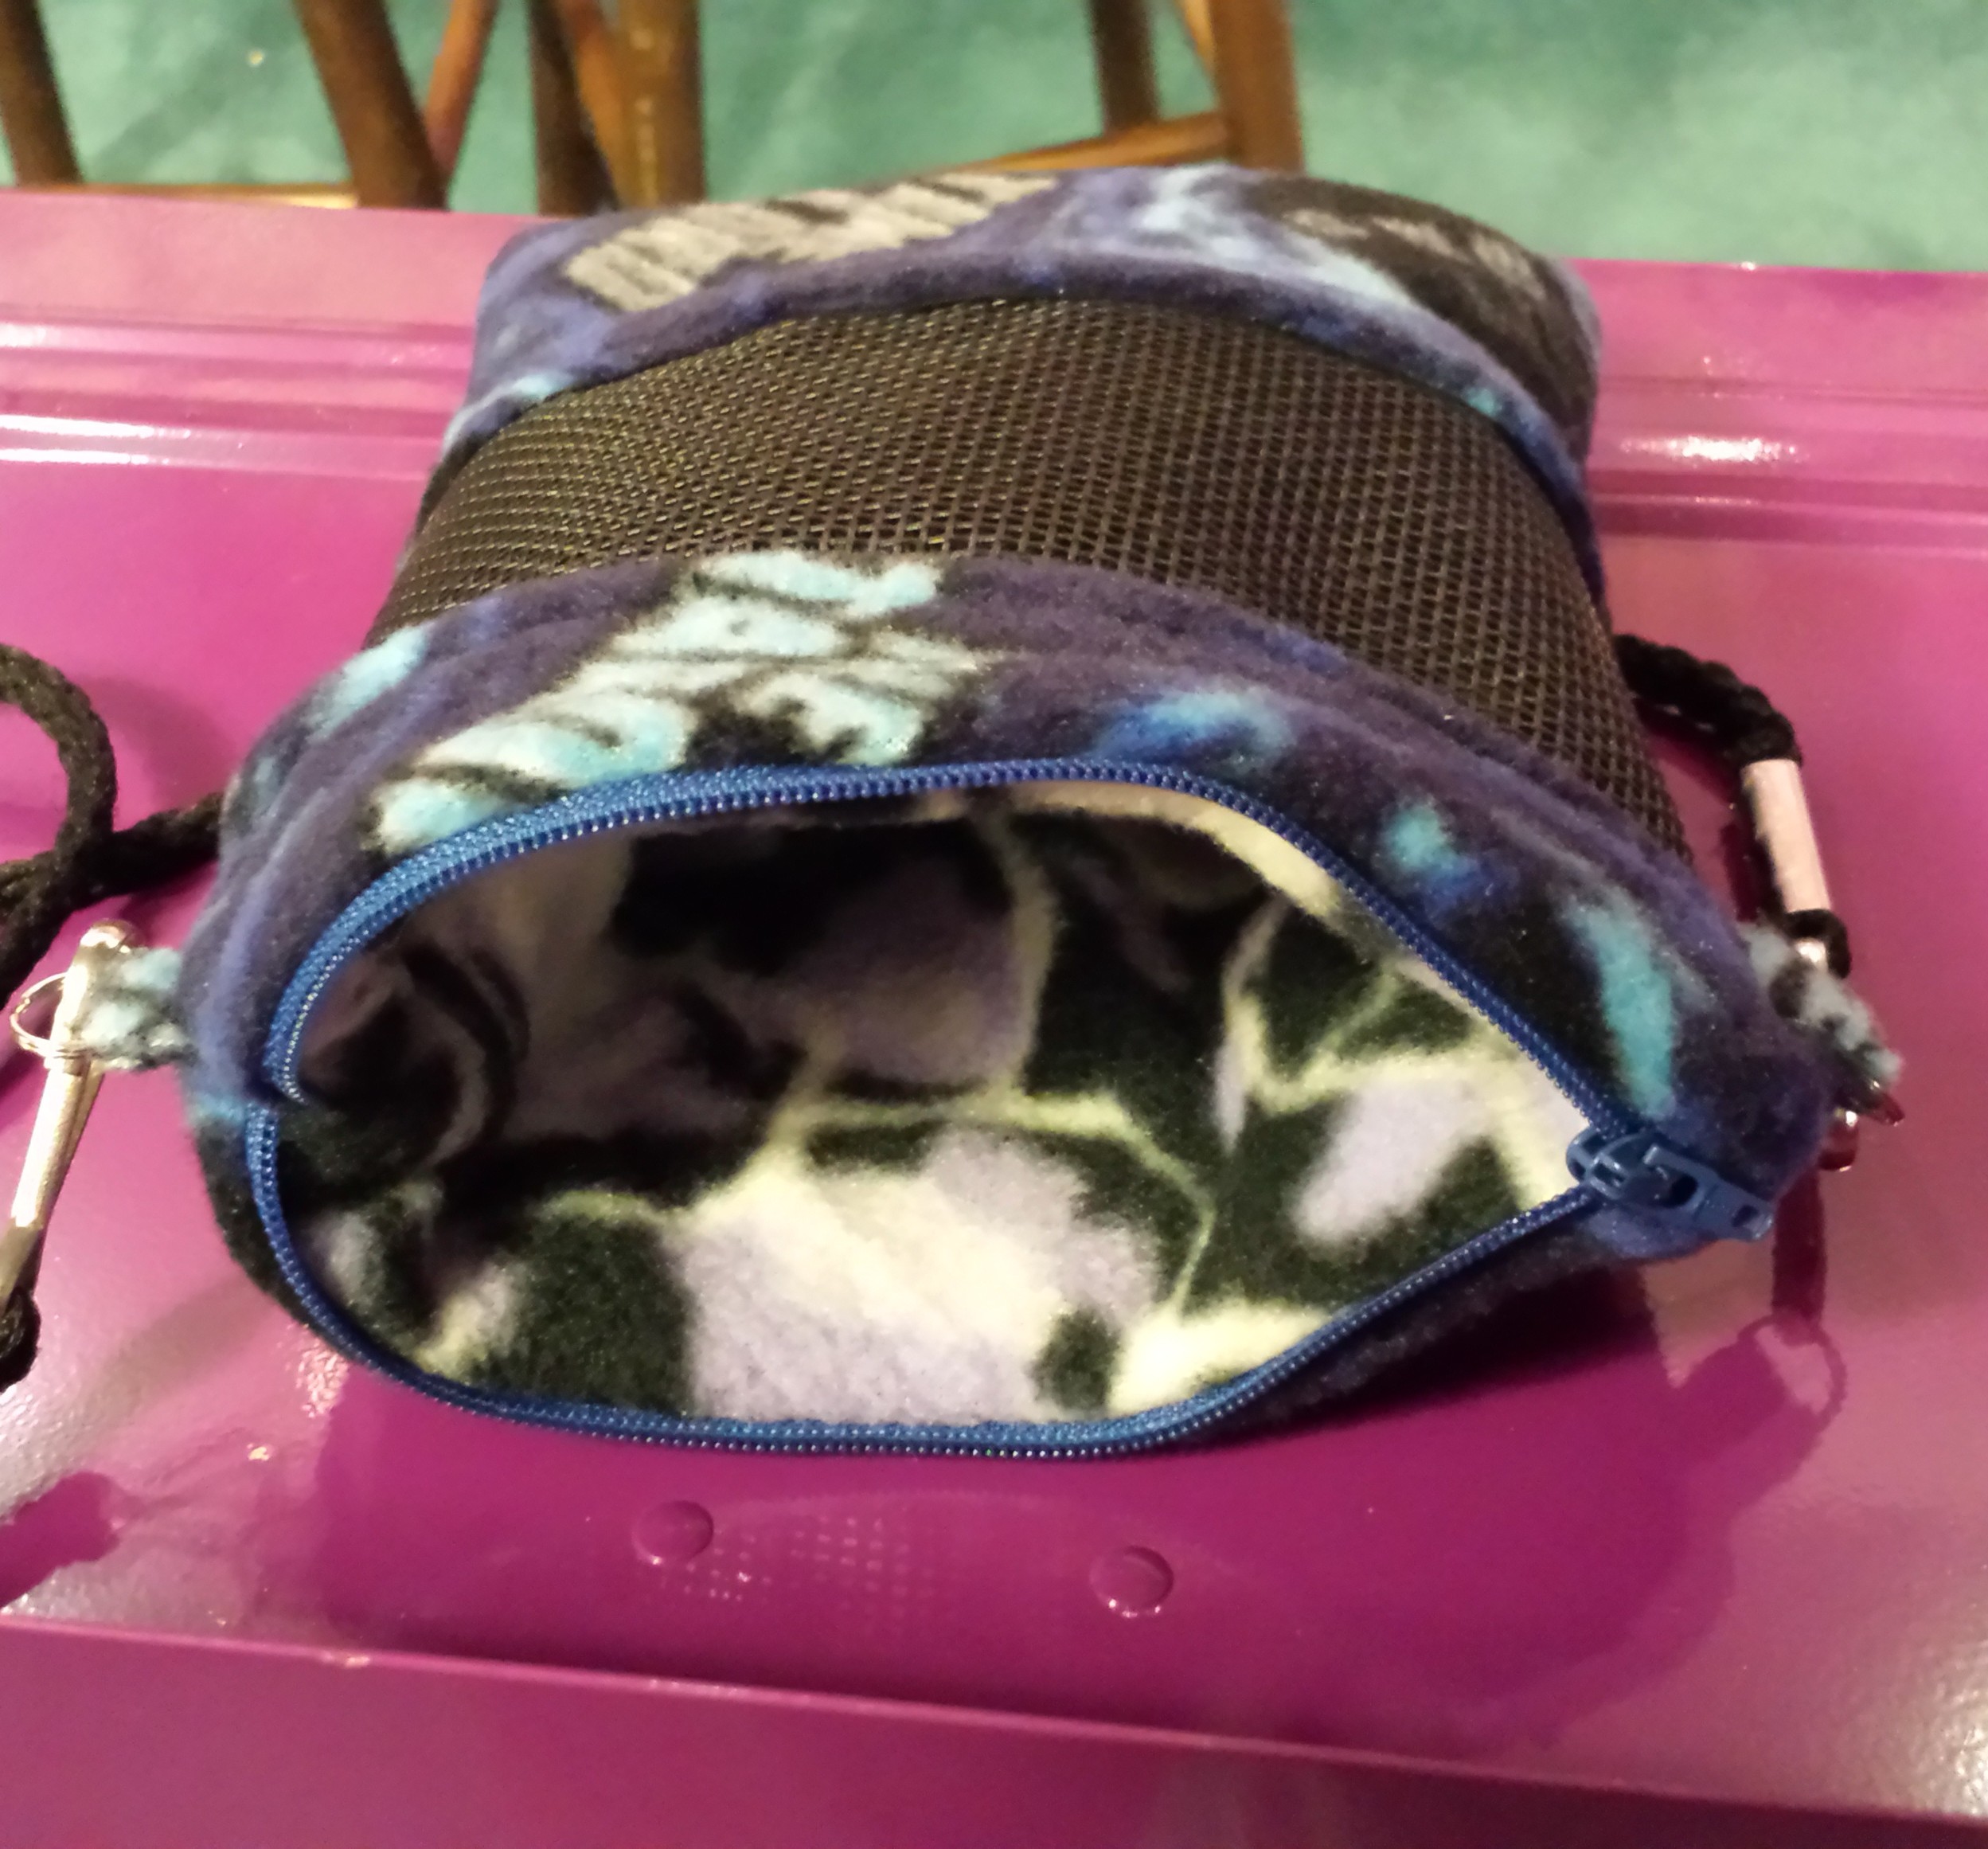
Second TARDIS Bonding Pouch
Bonding Pouches have proven to be my most challenging sewing projects to date. Between sewing zippers and mesh, my newly learned sewing skills have be pushed past their limits. Luckily, my wife has sewing skills far beyond my own and she was willing to help sew the bonding pouches together. Together we have made three bonding pouches; two TARDIS Bonding Pouches and one Musical Bonding Pouch.
The video and written instructions that I found online only got us so far. What I could not find was any instructions on how to sew fleece to mesh. Either the instructions were for mesh-less bonding pouches or they skipped the steps of actually sewing the mesh in. We developed our own method. I have no video of it or drawings so I will try to describe it below.
First TARDIS Bonding Pouch
The first bonding pouch that we made was a successful project, or so we thought. It turns out it had one major flaw. The zipper was the problem. I had Pippin, my male sugar glider, in the pouch shortly after it was first sewn together. Pippin figured out how to open the zipper from the inside. He did not push the foot from one side to the other. He was able to push the teeth apart in the middle and create a hole in the middle of the zipper. Hence, TARDIS Bonding Pouch Mark 2. The first TARDIS Bonding Pouch used a 7 inch regular zipper. The resulting bonding pouch was good for a single glider though not really big enough for two. The second TARDIS Bonding Pouch used a jacket or heavy 9 inch zipper. The wider pouch with the stronger zipper works beautifully.
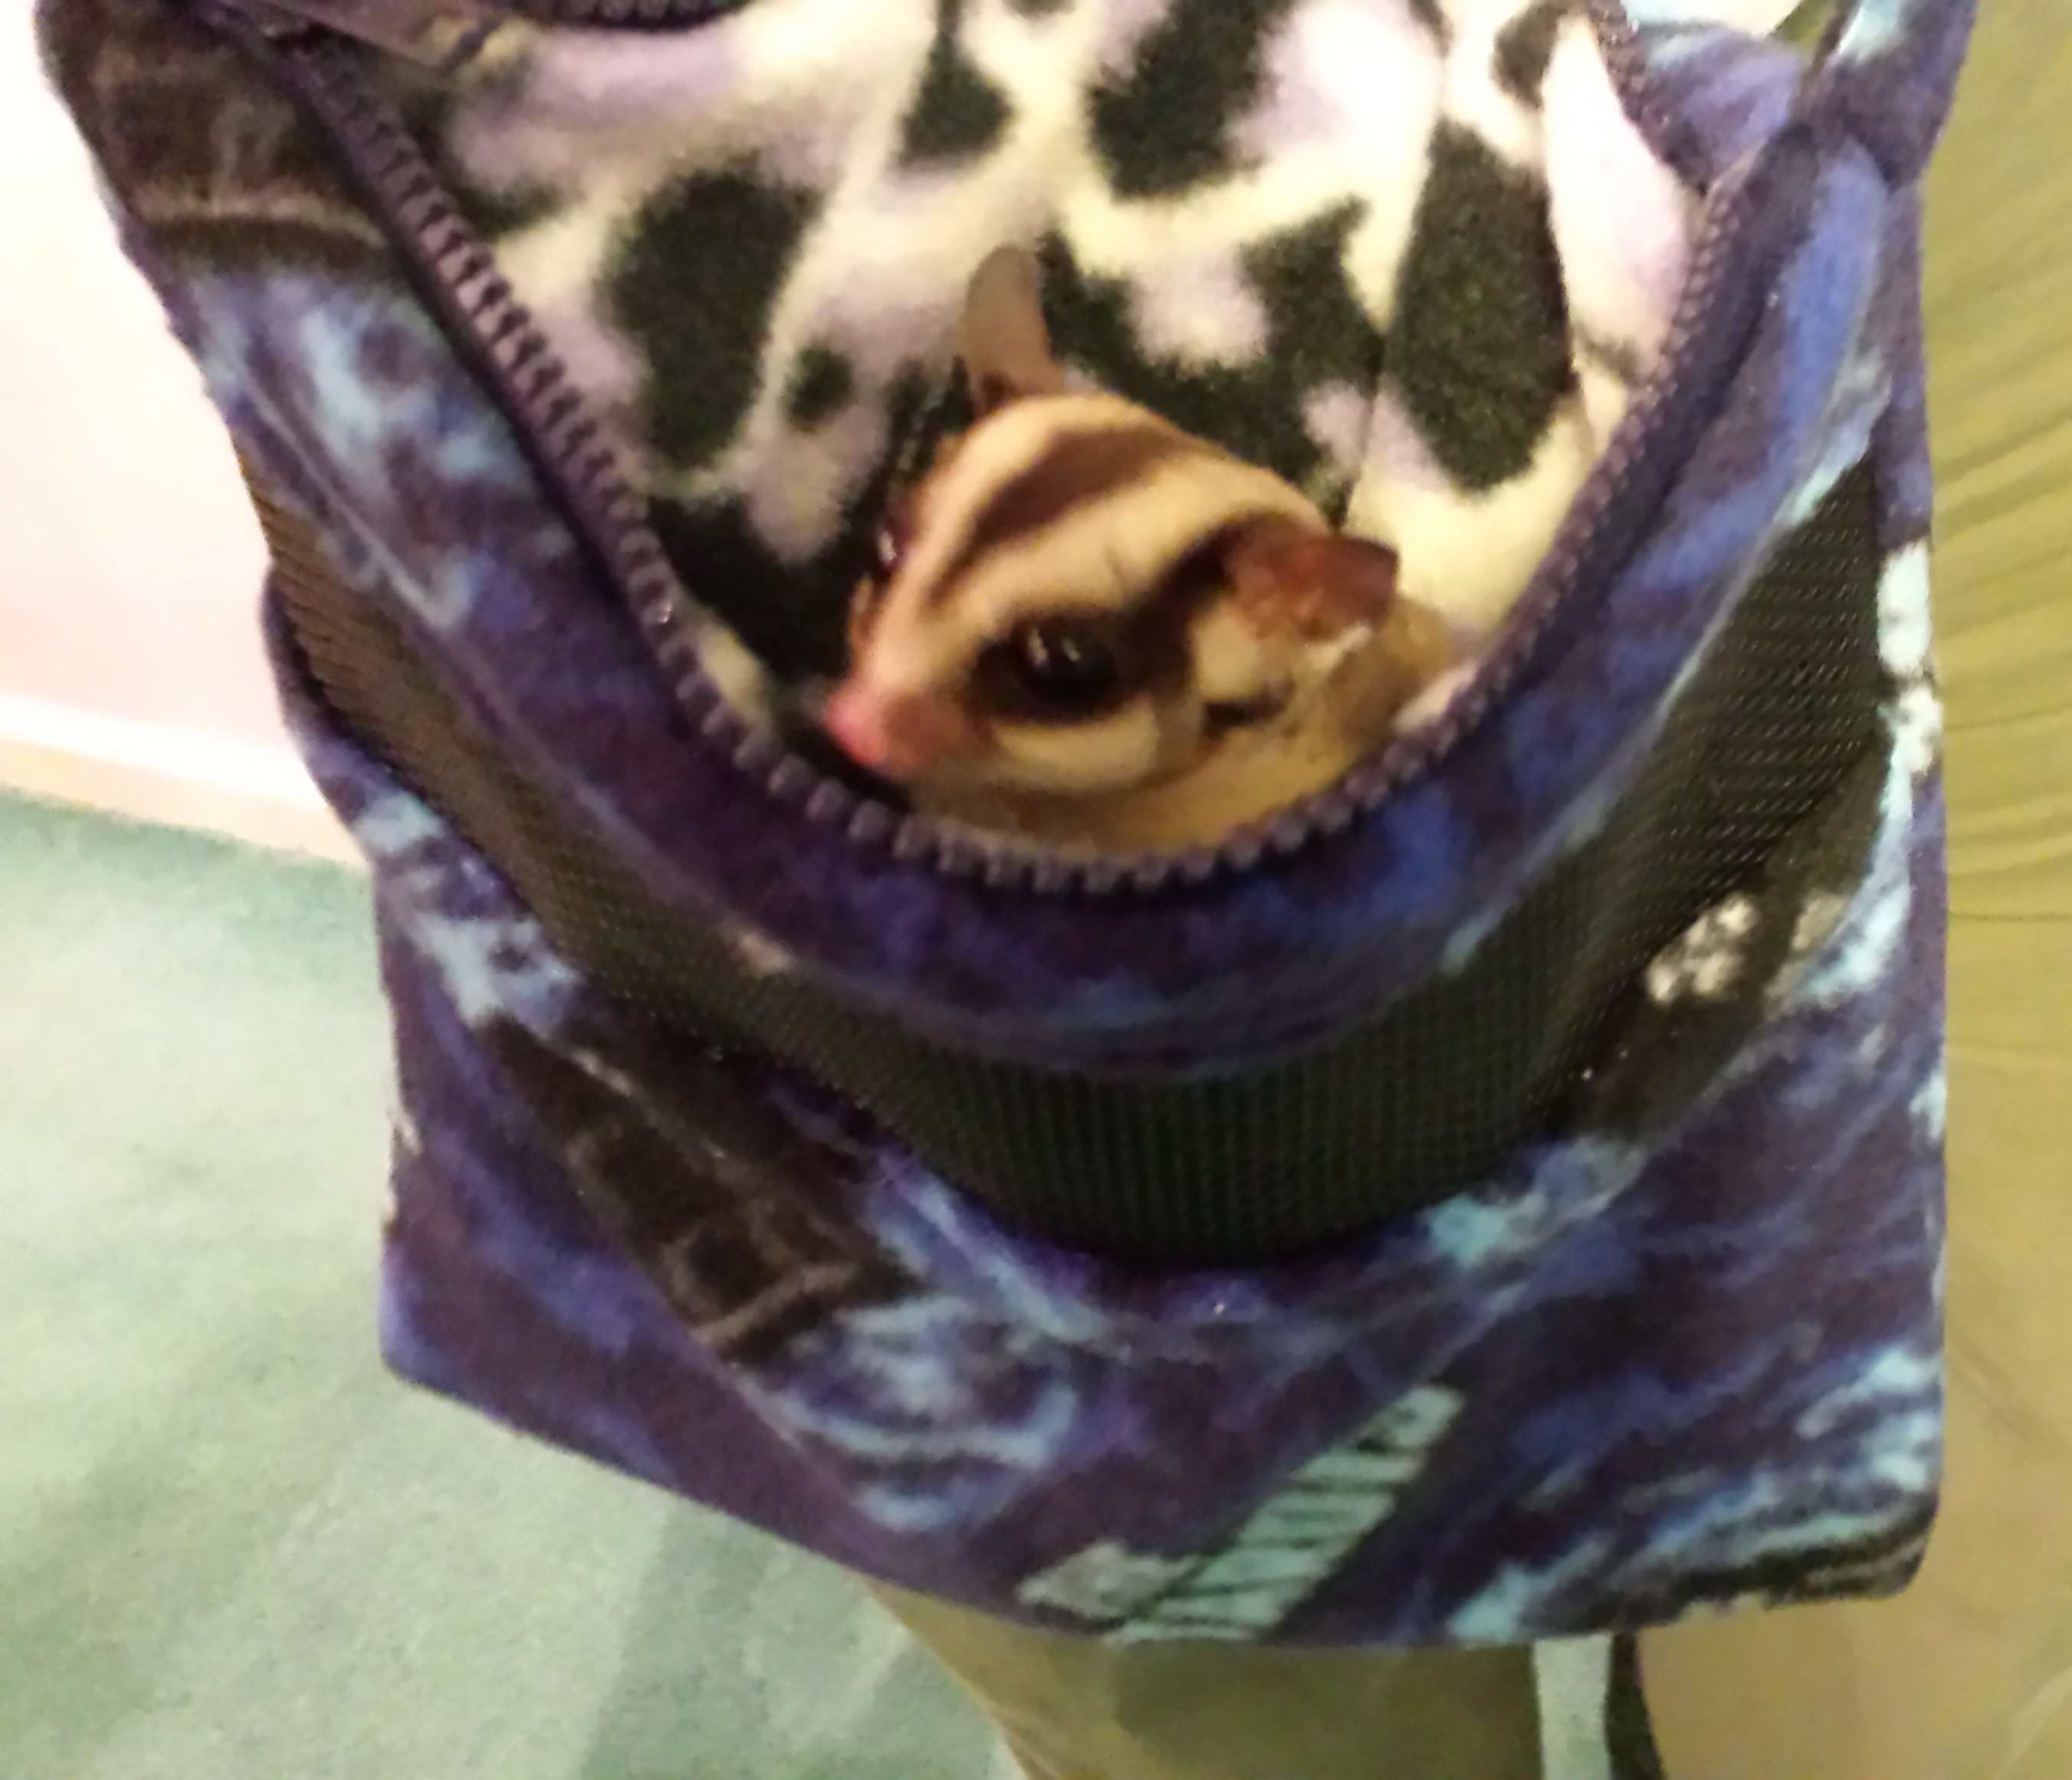
Second TARDIS Bonding Pouch and Pippin
As seen here, the second TARDIS Bonding Pouch has a heavier zipper than the first one. Being 9 inches wide, the second bonding pouch comfortable fits both of my sugar gliders, Pippin & Merry.
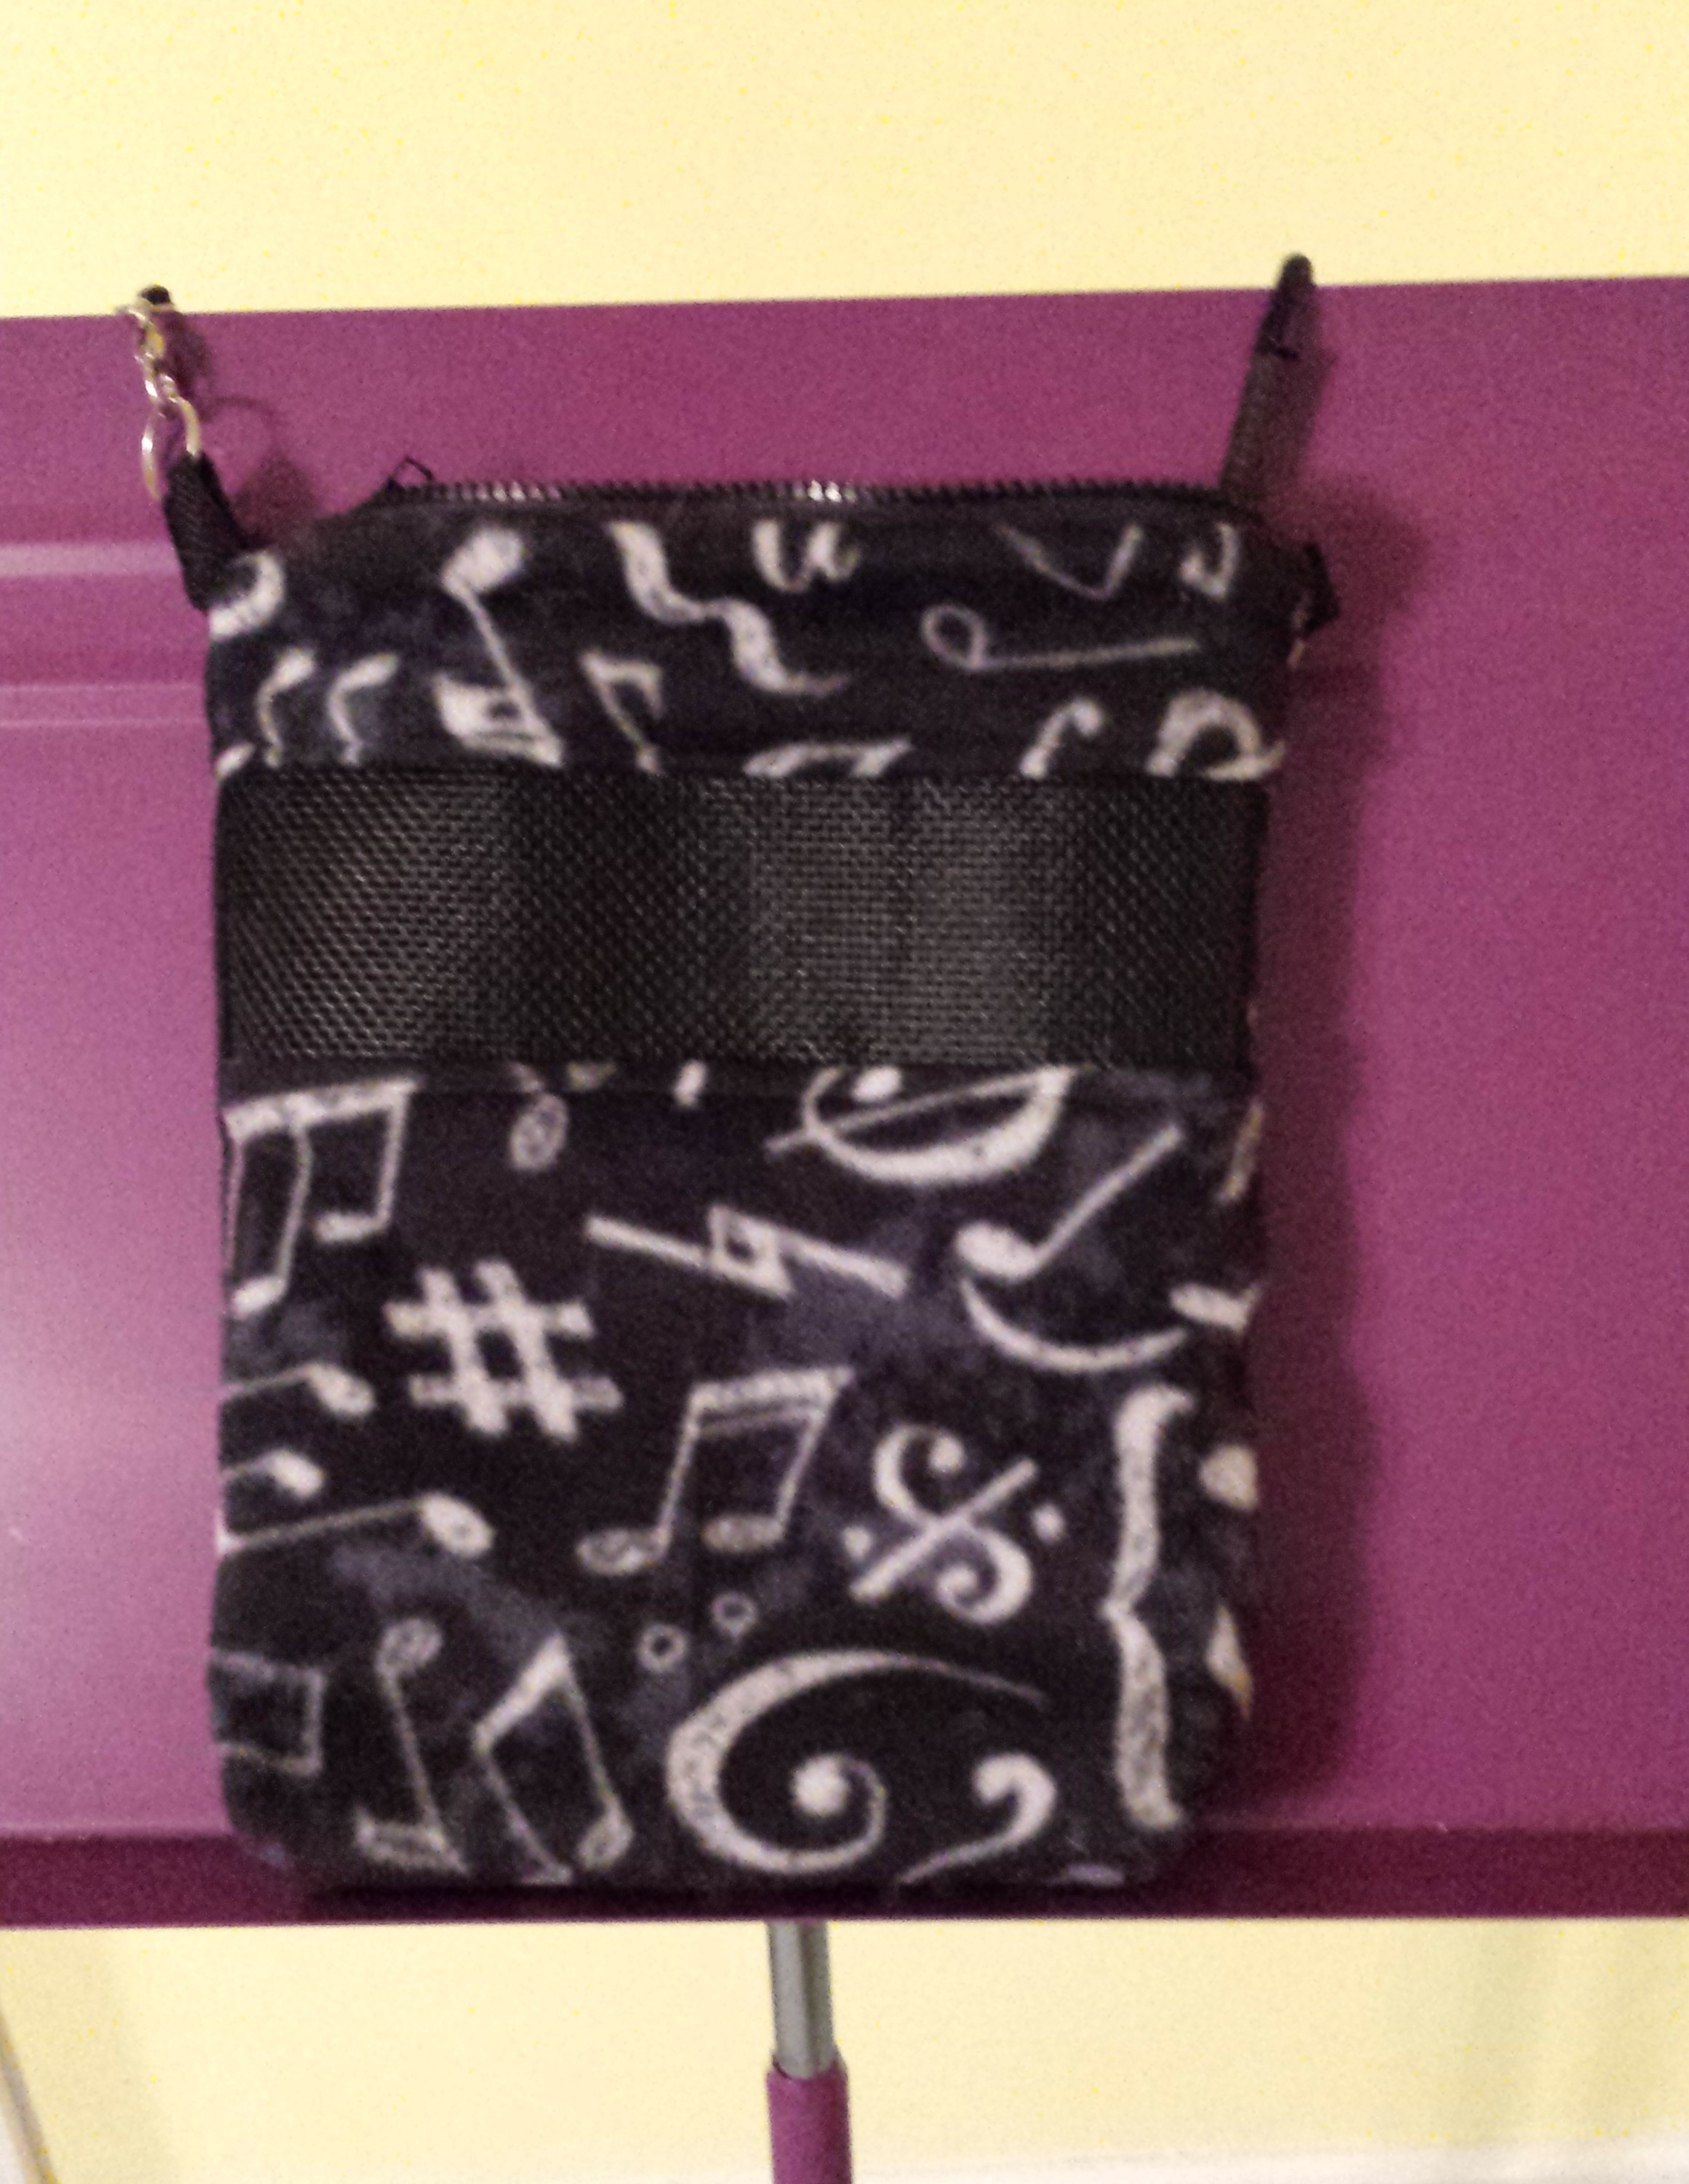
Musical Bonding Pouch
My third bonding pouch followed the model of my second bonding pouch with a musical fleece pattern on the outside. Again, a heavy, jacket strength 9 inch zipper was used. Between making the second bonding pouch and making the third bonding pouch, I purchased a self-healing cutting board and cutting wheel. The third pouch ending up being about two inches longer than the second one even though I cut the fleece to the same size. The difference is that I did so much better cutting straight edges and right angle corners with the cutting board, there was less waste of material. I really appreciate using the cutting board and wheel. The third bonding pouch also used 1/2 inch wide belting for the strips that hold the clasps instead of 1/2 wide fleece strips. I feel that the belt material will last longer than the fleece.
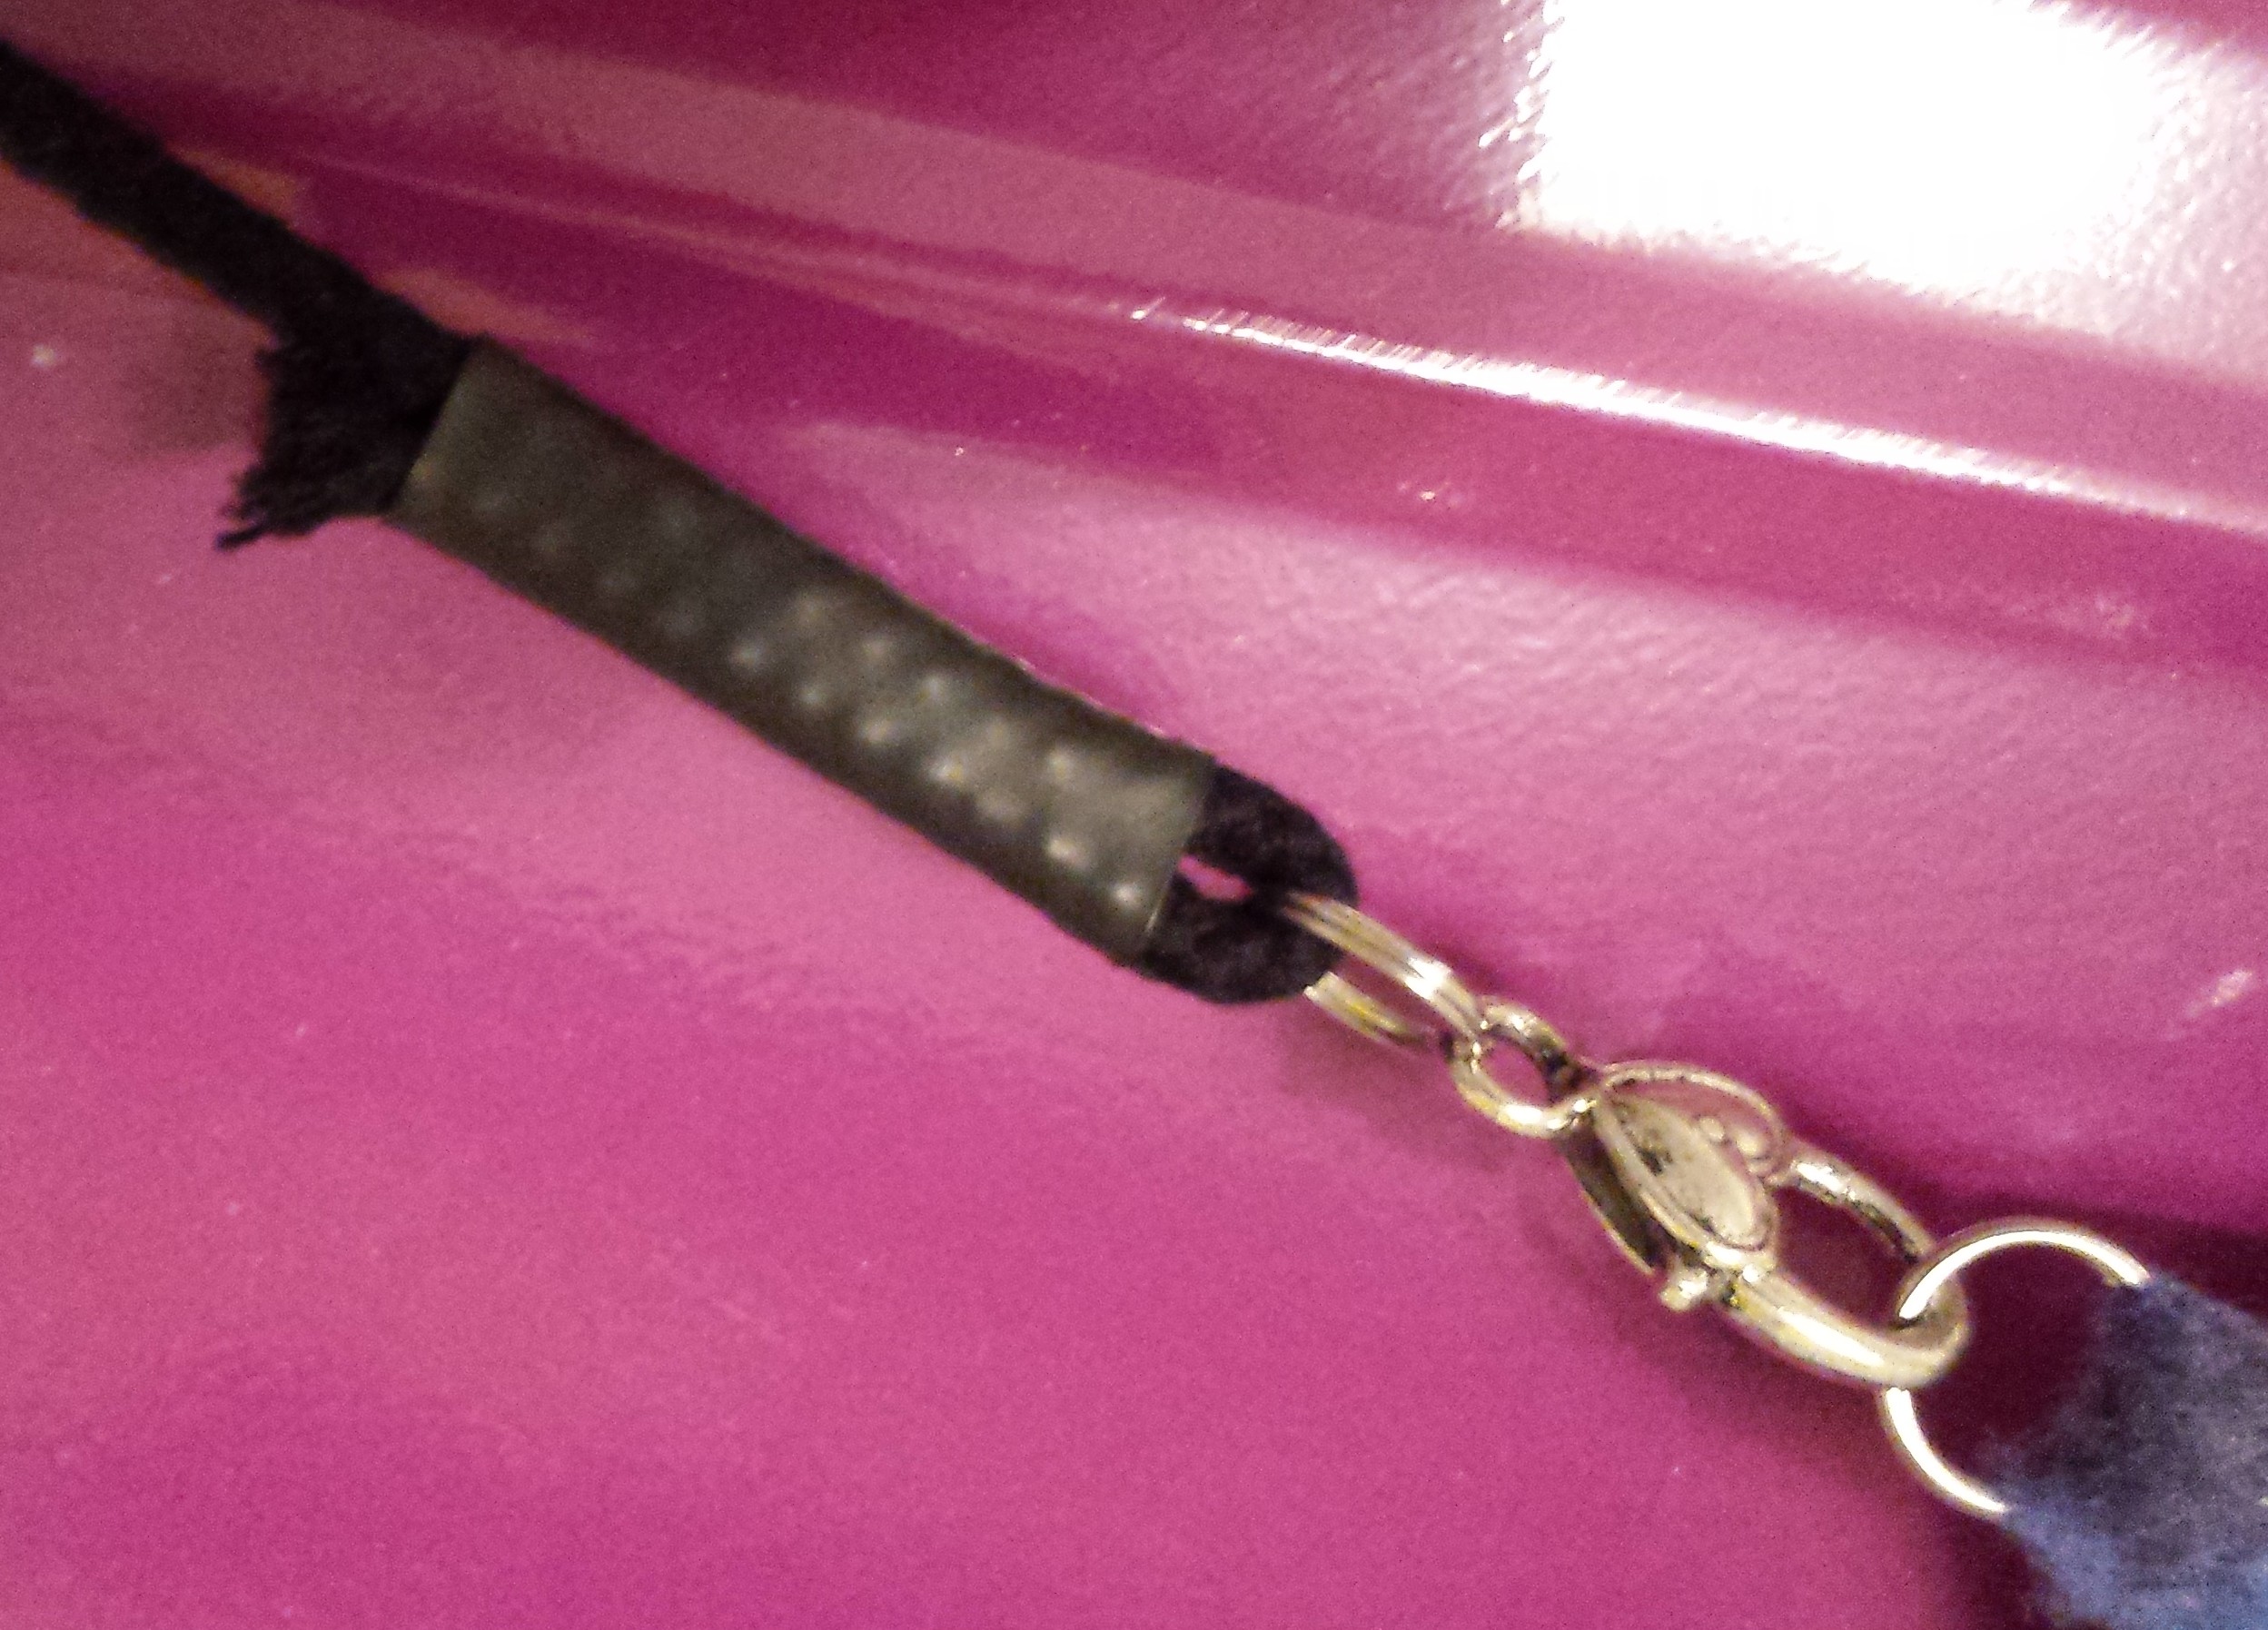
Second TARDIS Bonding Pouch – cord
Another issue that I had to work out for myself was how to make the lanyard for the bonding pouch. Original I was using the lanyard from a bonding pouch that I bought that used a thick cord and had metal tubes to lock the ends of the cord around the clasps. I could find no such metal tubes in the local fabric stores, online or in hardware stores. My first idea was to whip the ends like I learned in Boy Scouts decades ago to keep the end of ropes from fraying. I was not thrilled on how that would look. Then my wife came up with a better solution, electrical shrink tubing. Shrink tubing is a plastic tube that you normally put the bare ends of wires in, heat it and it shrinks to form a tight seal and insulator. As you can see from the photo, this idea worked.
Sewing Mesh
This is how we sewed the mesh and fleece together:
- Start by cutting two pieces of mesh, one for the inside and the other for the outside, to the width of your pouch and an inch taller than you want the final mesh window to be.
- Along the long sides of the mesh, sew 1/2 inch wide bias tape.
- Bias tape is folded and the mesh should be inserted into the fold.
- I am not sure if the bias tape is necessary though it does make it easier to sew the fleece on in a staight line. It also provides references on where the fleece should go.
- Cut two pieces of fleece for the inside and outside parts of the pouch, four in total.
- All four pieces should be the same width as the mesh.
- The inside and outside top pieces will be shorted than the bottom pieces.
- Leave an inch of fleece for sewing to the mesh.
- Double sew each piece of fleece to the meshes.
- Start by laying the mesh down.
- Place one piece of fleece on top of the mesh, good side facing the mess with the fleece flesh with the side of the mesh that fleece goes on.
- At this point the fleece should be hanging over the mesh on the other side.
- Sew the edge of the fleece to the bias tape.
- Fold the fleece over so that the seam you just sewn is under the fleece.
- The fold should be about a 1/2 inch from the edge of the fleece sewn to the mesh.
- Sew the fleece again to the mesh.
- This should leave you a folded edge of fleece and mesh.
- Repeat Step 4 for the other fleece on the mesh and for the other mesh and two pieces of fleece.
The end result should be two sides, inside and outside, parts of your bonding pouch. Make sure to carefully line up the mesh windows when sewing these two sides together using the instructions in other bonding pouch instructions.
Bonding Pouch Resources
-
Bonding Pouch Making - 1 of 3
The first of three videos by Flying Marsupial on making a bonding pouch. -
Bonding Pouch Making - 2 of 3
The second of three videos by Flying Marsupial on making a bonding pouch. -
Bonding Pouch Making - 3 of 3
The third of three videos by Flying Marsupial on making a bonding pouch. -
Making a Bonding Pouch with Window and Zipper for Sugar Gliders
Video instructions on making a bonding pouch. -
Wild Little Monkeys: Make Your Own Zippered Bonding Pouch
Written instructions with photos.